If you haven’t already, we encourage you to read An Introduction to Wood Ceiling Repair. This video dives specifically into chip-out & edge damage, and is part of a larger series of 9Wood Field Guides. We hope you find them useful!
Getting Started With Chip-Out & Edge Damage
Today we’re going to be talking about a few types of basic cosmetic damage that can occur in the field during installation or handling. We will then give you a few tips and techniques on how to correct them.
We’re going to be talking specifically about chip-out on the ends of wood panels. Also, we’ll cover edge and corner damage.
Tools to Use
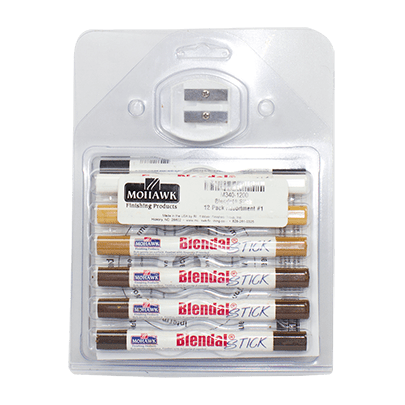
For these repairs, we will be using a stain marker, a wax-based filler, some touch-up sticks and a protective clear satin pre-catalyzed lacquer finish.
Damage that disrupts the sharp edge of a wood member, even if minor, will draw the eye to the area. This is especially true with stained material, where the wood underneath the stain is exposed.
How to Repair Minor Edge Damage?
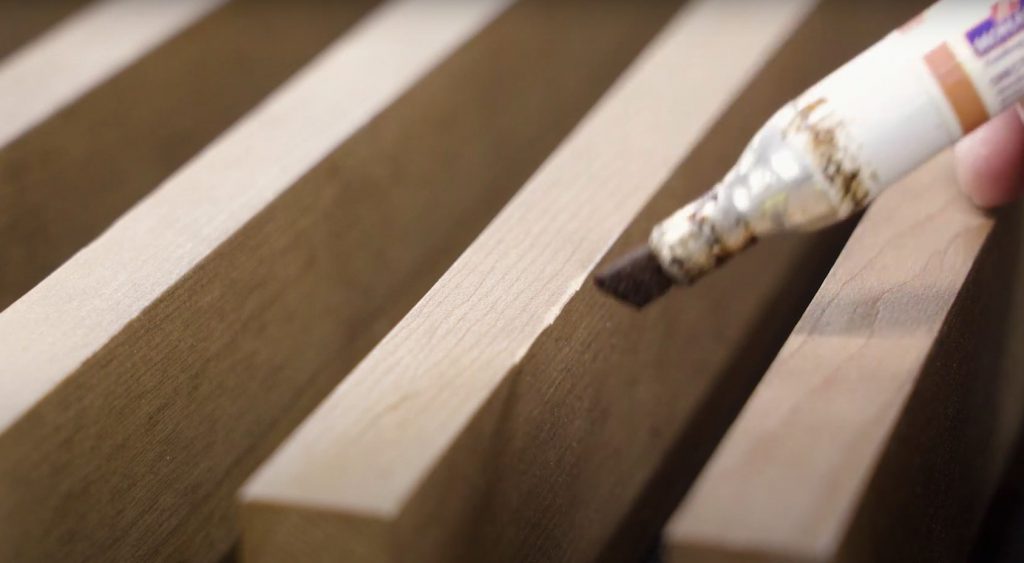
Minor edge damage is probably the most common type we see out in the field. You can use the 9Wood-supplied touch-up stain or a stain marker to color in the exposed area. Blot or lightly draw in the stained wood and blend in with a clean rag.

Additional applications can be strategically applied to match the surrounding stain, continuing to blend and wipe away excess with a rag. Once colored in, apply a light coat of protective finish to seal in the color and protect the wood.
How to Repair Chip-Out?
Chip-out or other damage at the end of the board will likely need to be filled in, especially if visible from more than a few feet away. Chip-out is a common occurrence when making field cuts either too quickly or with a dull saw blade.
For quick fixes, we recommend using a wax-based filler which is available in a variety of colors from Guardsmen, Mohawk and Varathane and require no sanding of your protective finish. Rub the filler vigorously across the gouge from side to side, using friction to soften the wax and work it into the defect.

Tips to Remove Excess Filling
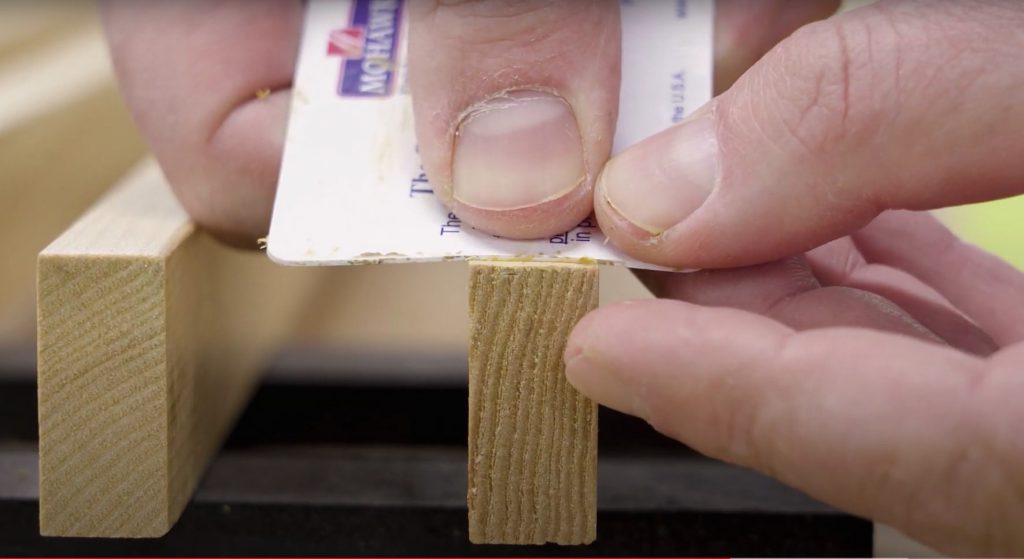
Once completely filled in, remove the excess with a plastic putty knife or stiff piece of plastic, such as the edge of an old credit card. The fill can be further leveled using the flat end of the knife or card to create a seamless fill.
The remaining excess can be removed from the surface around the defect with a cloth, but take care not to wipe the fill itself in order to prevent dishing it out.

What About Color Matching?
If the repair is still visible from a few feet away due to a color mismatch, simply add some color with a touch-up tool. Blend in with the surrounding wood, remembering to seal in the color with a protective coating. If you don’t find a perfect color match, go with the nearest darker shade.
In Conclusion
We hope this video has been helpful. If you have any specific questions regarding touch-ups or repairs or your project in particular, please contact your project manager. Thanks for watching.
