If you haven’t already, we encourage you to read An Introduction to Wood Ceiling Repair. This video dives specifically into Scratches and Scuffs and is part of a larger series of 9Wood Field Guides. We hope you find them useful!
Getting Started
Today we’re going to be talking about a few types of basic damage that can occur in the field during handling or installation of wood ceilings and a couple of tips and techniques on how to address them. We’re not going to cover every type of damage conceivable, but we should cover the vast majority of what you’re going to see.
We’ll start with scratches and scuffs, which are anything in the finish of the wood that can disrupt the sheen and draw the eye to the defect.

How to Prepare the Surface
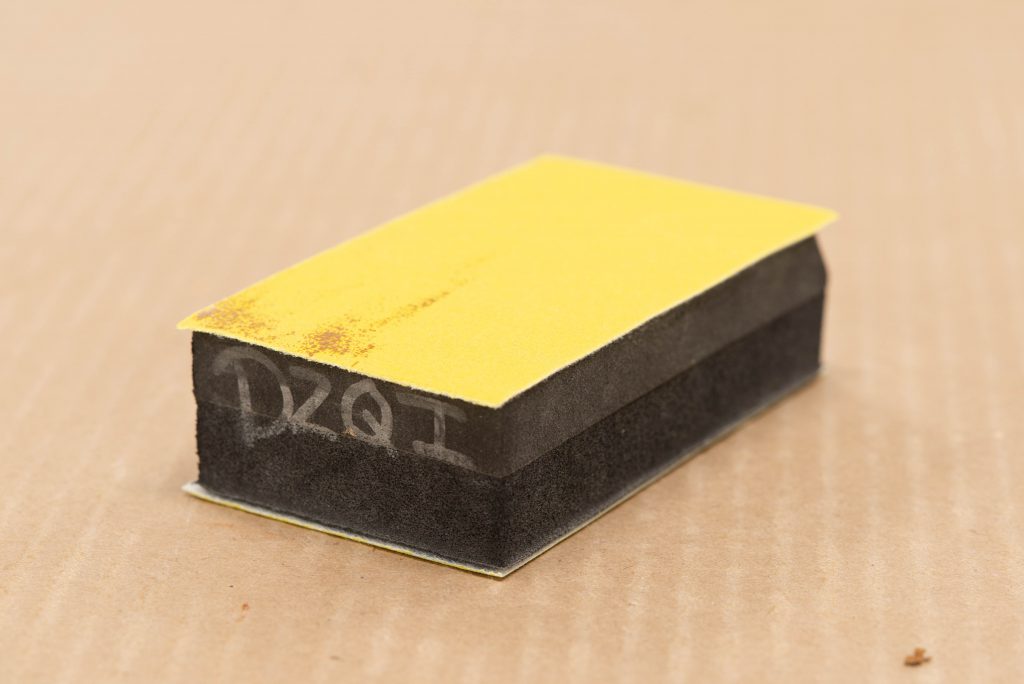
You’ll need a sanding block with 150 grit paper and clear satin pre-catalyzed lacquer finish. With minor surface scratches, we begin by gently sanding the defect out. Work with the grain and keep the sanding block flat against the material.

Refinishing After Sanding
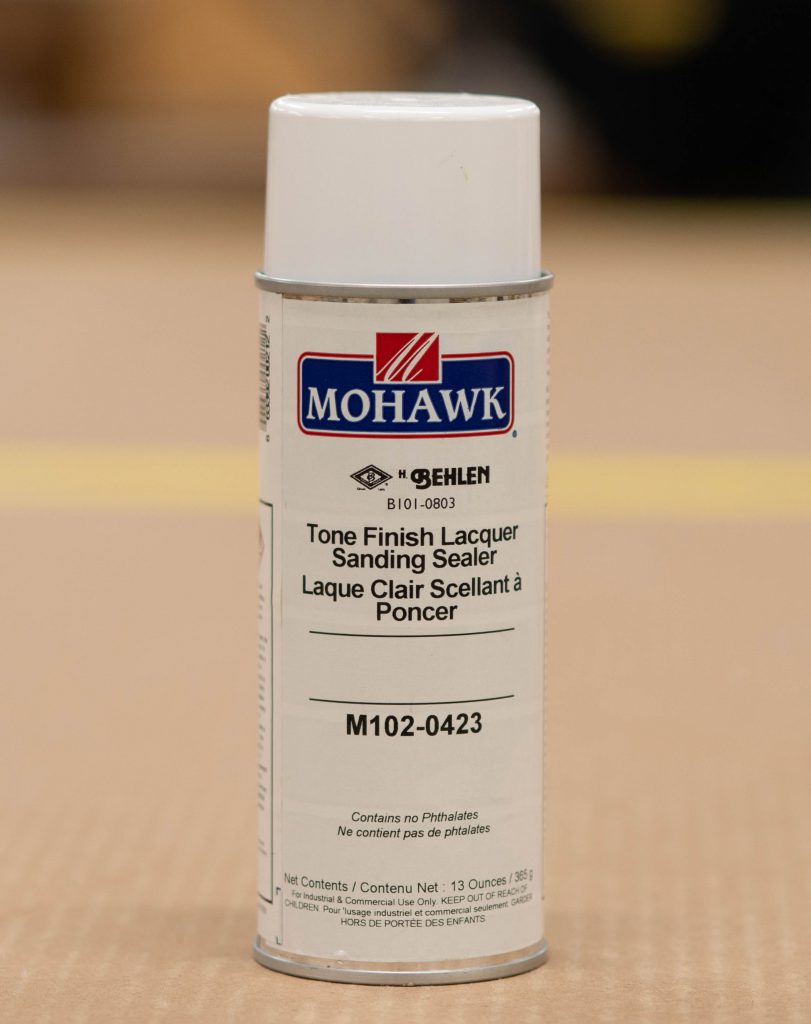
Once the scratches or scuffs are barely distinguishable, we will need to replace the finish that was sanded off. We’re going to use the 9Wood-supplied water-based lacquer, but an aerosolized spray will work too. Apply a very light coating to the surface. Use just enough to replace the sanded-off finish. Allow to dry for 10 to 15 minutes, and apply another coat if the repair area looks dull. The lacquer will be fully cured after 60 minutes.
What if the Defect is Below the Stain?
When dealing with any scratch or scuff that goes beneath the stain, the color is going to need to be replaced. You can use a wood touch-up tool such as Mohawk Blendal or DAP blend sticks to replace the color and fill in the scratch to some extent.
Apply a liberal amount of matching color to the scratch or scuff and then blend it in with your finger. Since it’s a soft medium that doesn’t harden, make sure to seal the color in with a light application of protective coating.
What About Deeper Scratches?
With deeper scratches and scuffs that fully penetrate the finish into the wood, you’ll need to remove all the finish in the area and sand out the scratch. Sand flat and be careful not to round off edges or dish out the surface. Continue until the scratch in the wood starts to disappear.
If you’re sanding away stain, then you’ll need to reapply color from the 9Wood-supplied touch-up finish, but we’re working with natural, unstained wood, so no stain is needed. You will need to seal the raw wood with finish and allow to dry before adding a second heavier topcoat.
Will a Single Coat be Sufficient?
It may require a few coats to match the thickness and sheen of the surrounding finish.
In Conclusion
We hope this video has been helpful. If you have any specific questions or concerns regarding touch-ups or repairs or your project in particular, please contact your project manager. Thanks for watching!
